
Nothing beats the taste of a freshly baked cherry pie—golden, flaky crust with a gooey, sweet-tart cherry filling! 🍒🥧
This homemade cherry pie recipe is foolproof, with easy-to-follow steps and a rich, juicy filling that’s better than store-bought!
In this article, you’ll learn:
✔️ How to make a perfect cherry pie from scratch
✔️ The secret to a flaky, buttery crust
✔️ Tips for thickening the cherry filling
✔️ Step-by-step instructions with a printable recipe card
Table of Contents
🍒 Why You’ll Love This Cherry Pie
✔️ Perfect Balance of Sweet & Tart – Not overly sugary, just right!
✔️ Flaky, Buttery Crust – Golden and crisp with a rich, homemade taste.
✔️ Juicy Cherry Filling – Thick, gooey, and full of flavor.
✔️ No Soggy Bottom! – Tips to prevent a watery filling.
✔️ Make-Ahead Friendly – Prep in advance for stress-free baking!
“Homemade cherry pie is more than a dessert—it’s a memory baked into every bite!”
🍒 Best Cherries for a Homemade Cherry Pie
To get the best flavor and texture, choose high-quality cherries based on availability.
🛒 Fresh Cherries (Best for Homemade Cherry Pie)
✔️ Tart Cherries (Montmorency, Morello) – Traditional choice, perfect for a sweet-tart balance.
✔️ Sweet Cherries (Bing, Rainier) – Naturally sweeter, reduces sugar needed.
✔️ Frozen Cherries – Convenient, but must be thawed and drained.
✔️ Canned Cherries – Okay in a pinch, but avoid cherry pie filling (too artificial).
👩🍳 Step-by-Step: How to Make Cherry Pie
🍒 Homemade Cherry Pie Filling
| Ingredient | Quantity | Purpose |
|---|---|---|
| Fresh or frozen cherries | 4 cups | The main star! |
| Sugar | 3/4 cup | Balances tartness |
| Cornstarch | 3 tbsp | Thickens the filling |
| Lemon Juice | 1 tbsp | Enhances flavor |
| Vanilla Extract | 1 tsp | Adds depth |
| Butter | 1 tbsp | Richness & shine |
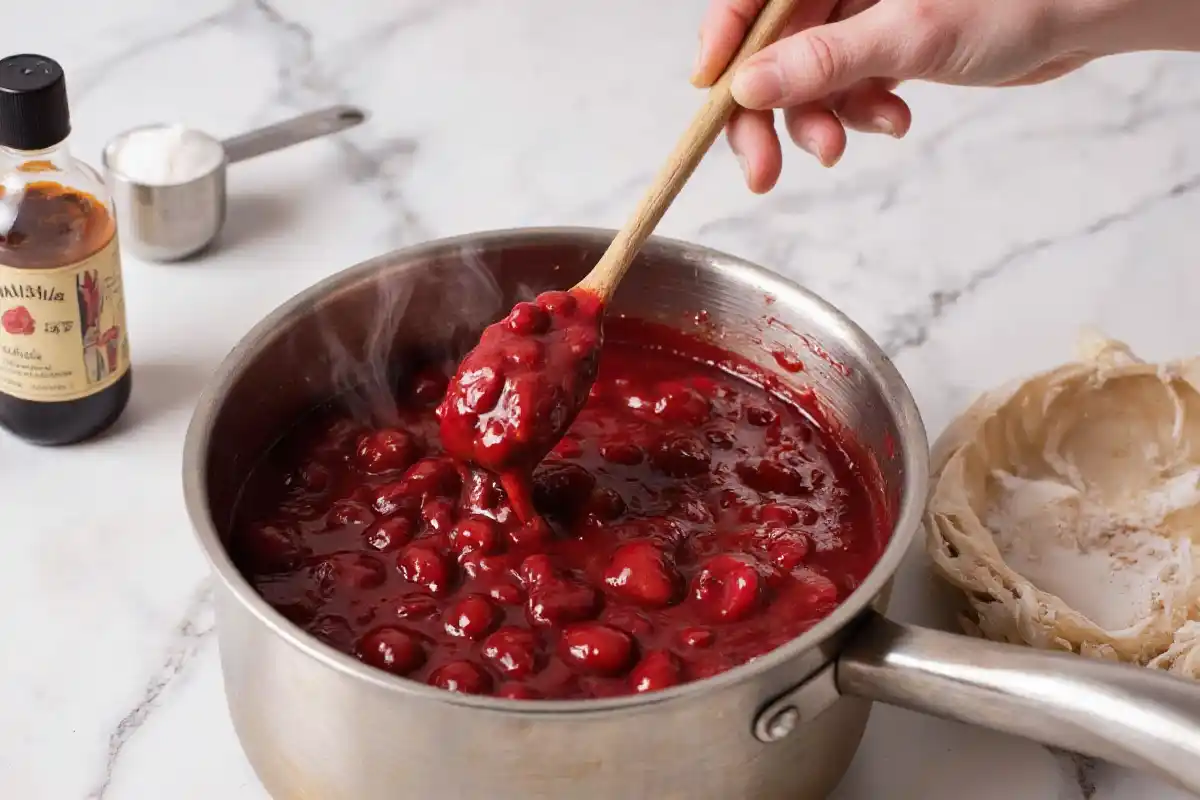
🔄 How to Make the Filling:
1️⃣ Pit cherries and place them in a saucepan.
2️⃣ Add sugar, cornstarch, and lemon juice.
3️⃣ Cook over medium heat, stirring until thickened.
4️⃣ Remove from heat and stir in vanilla extract and butter.
5️⃣ Let cool before adding to the pie crust.
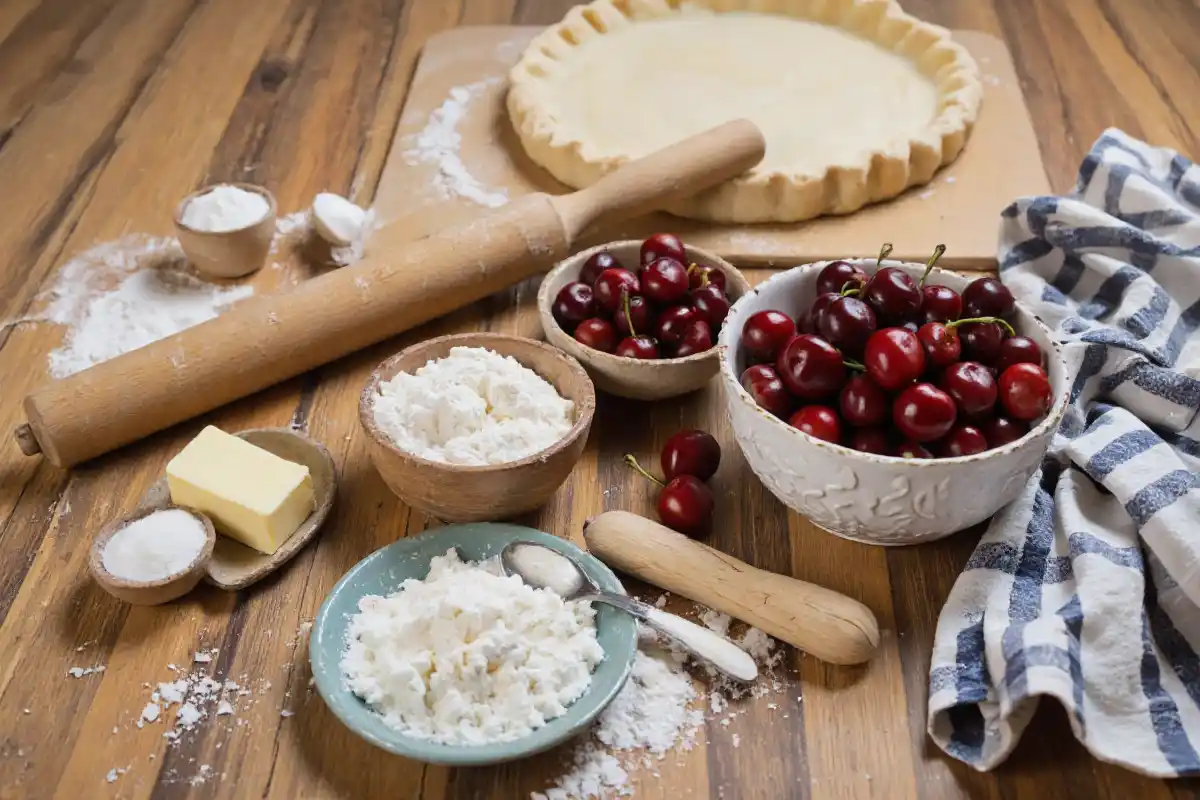
🥧 Homemade Flaky Pie Crust
| Ingredient | Quantity | Purpose |
|---|---|---|
| All-Purpose Flour | 2 ½ cups | Structure |
| Unsalted Butter | 1 cup (cold, cubed) | Creates flaky layers |
| Ice Water | 6 tbsp | Helps dough form |
| Sugar | 1 tbsp | Adds slight sweetness |
| Salt | ½ tsp | Enhances flavor |
🔄 How to Make the Crust:
1️⃣ Mix flour, sugar, and salt in a bowl.
2️⃣ Cut in butter using a pastry cutter until pea-sized crumbs form.
3️⃣ Add ice water slowly, mixing until dough holds together.
4️⃣ Divide into two discs, wrap in plastic, and chill for 30 minutes.
🥧 Assembling & Baking the Pie
1️⃣ Roll out one pie dough disc and place in a 9-inch pie pan.
2️⃣ Pour in the cooled cherry filling evenly.
3️⃣ Roll out the second dough disc and place on top (or make a lattice crust).
4️⃣ Crimp the edges and brush with an egg wash for shine.
5️⃣ Bake at 375°F (190°C) for 45-50 minutes until golden brown.
6️⃣ Cool completely before slicing—this helps the filling set!
📦 How to Store & Freeze Cherry Pie
✔️ Refrigerator: Store leftovers in an airtight container for up to 4 days.
✔️ Freezer: Wrap unbaked pie tightly in plastic, then foil, and freeze for up to 3 months.
✔️ Reheating: Warm slices in the oven at 350°F (175°C) for 10 minutes.
“A well-stored cherry pie tastes just as amazing the next day!”
🚨 Common Cherry Pie Problems & Solutions
| Problem | Solution |
|---|---|
| Watery filling | Use more cornstarch & let the pie cool completely. |
| Soggy crust | Pre-bake the bottom crust for 10 minutes before adding filling. |
| Overly sweet pie | Use tart cherries & adjust sugar accordingly. |
| Filling spills over | Don’t overfill the pie & make steam vents. |
🍓 Delicious Variations to Try!
✔️ Cherry Almond Pie: Add ½ tsp almond extract to the filling.
✔️ Chocolate Cherry Pie: Sprinkle chocolate chips into the filling.
✔️ Cherry Crumble Pie: Use a crumb topping instead of a top crust.
Frequently Asked Questions (FAQ)
1️⃣ Can I use frozen cherries instead of fresh ones?
➡️ Yes! If using frozen cherries, thaw and drain them first to remove excess moisture. This prevents a watery filling. If the cherries release too much liquid, increase cornstarch by 1 tbsp to help thicken the filling.
2️⃣ How do I make my cherry pie filling thicker?
➡️ If your cherry pie filling is too runny, try these solutions:
✔️ Use more cornstarch – Increase by 1 tbsp if using frozen cherries.
✔️ Cook the filling longer – Let it simmer for 3-5 minutes until thickened.
✔️ Let the filling cool before using – This helps it firm up before baking.
✔️ Add a flour mixture – 1 tbsp of flour mixed with 1 tbsp water can help thicken the filling further.
3️⃣ Can I make cherry pie with canned cherries?
➡️ Yes! Use unsweetened canned cherries (not cherry pie filling). Drain excess liquid and adjust sugar based on sweetness. If using canned cherry pie filling, reduce added sugar to avoid an overly sweet pie.
4️⃣ What’s the best way to get a flaky pie crust?
➡️ To ensure a flaky, buttery crust, follow these pro tips:
✔️ Use cold butter – The colder, the flakier!
✔️ Keep ice water on hand – Adds moisture without overworking the dough.
✔️ Don’t overmix the dough – Stop mixing once it comes together.
✔️ Chill before rolling – Refrigerate for at least 30 minutes before rolling out the dough.
5️⃣ Can I make this cherry pie ahead of time?
➡️ Yes! Here are three ways to prep cherry pie in advance:
✔️ Make the filling ahead – Store in the fridge for up to 3 days.
✔️ Prepare the dough in advance – Refrigerate for up to 2 days, or freeze for up to 3 months.
✔️ Freeze the whole pie – Assemble but don’t bake. Wrap well and freeze for up to 3 months. Bake from frozen at 375°F (190°C) for 60-70 minutes.
6️⃣ How should I store leftover cherry pie?
➡️ Store cooled cherry pie in an airtight container:
✔️ Room Temperature: Up to 2 days (if covered).
✔️ Refrigerator: Up to 4 days (best for freshness).
✔️ Freezer: Up to 3 months (wrap tightly in plastic wrap and foil).
7️⃣ What’s the best way to reheat cherry pie?
➡️ For the best results:
✔️ Oven: Warm at 350°F (175°C) for 10-15 minutes to maintain crispiness.
✔️ Microwave: Heat individual slices for 30 seconds (but the crust may soften).
✔️ Air Fryer: Reheat at 325°F (160°C) for 5 minutes for a crispy crust.
8️⃣ My cherry pie crust burned before the filling was done—what happened?
➡️ Solution: Cover the edges with foil or a pie shield to prevent burning. If the filling takes longer to cook, lower the oven temperature to 350°F (175°C) and bake longer.
9️⃣ Should I pre-bake the pie crust?
➡️ If you’re making a cherry pie with a lot of liquid, blind baking (pre-baking the crust) prevents sogginess. Steps to blind bake:
1️⃣ Roll out the dough and place it in the pie pan.
2️⃣ Line it with parchment paper and fill with pie weights or dry beans.
3️⃣ Bake at 375°F (190°C) for 10-12 minutes.
4️⃣ Remove weights, add filling, and bake as usual.
🔟 Why is my cherry pie filling leaking after baking?
➡️ Common Causes & Solutions:
✔️ Not enough thickener – Use 3-4 tbsp cornstarch or flour.
✔️ Didn’t let the pie cool – The filling sets as it cools.
✔️ Overfilled the pie – Too much filling can cause spills.
1️⃣1️⃣ How do I make a lattice crust for cherry pie?
➡️ Steps for a Beautiful Lattice Pie Crust:
1️⃣ Roll out dough and cut into 1-inch strips.
2️⃣ Lay half the strips vertically over the pie.
3️⃣ Fold back alternating strips and weave the other half horizontally.
4️⃣ Press edges together, trim, and crimp.
5️⃣ Brush with egg wash for a golden crust.
1️⃣2️⃣ What’s the best way to add shine to my cherry pie crust?
➡️ Brush the top crust with an egg wash:
✔️ Egg wash (shiny crust): 1 egg + 1 tbsp milk.
✔️ Golden crust: Sprinkle with coarse sugar before baking.
✔️ Extra crispiness: Add a touch of melted butter after baking.
1️⃣3️⃣ Can I make this cherry pie gluten-free?
➡️ Yes! Use a gluten-free pie crust with:
✔️ Gluten-free all-purpose flour (1:1 ratio)
✔️ Xanthan gum (if not included in flour blend)
✔️ Chill the dough longer to prevent crumbling
1️⃣4️⃣ Can I add almond flavor to my cherry pie?
➡️ Yes! Almond and cherry complement each other beautifully. Try these add-ins:
✔️ 1/2 tsp almond extract in the cherry filling.
✔️ Sliced almonds sprinkled on top.
✔️ Almond flour crust for a nutty taste.
1️⃣5️⃣ What can I serve with cherry pie?
➡️ Classic pairings for cherry pie:
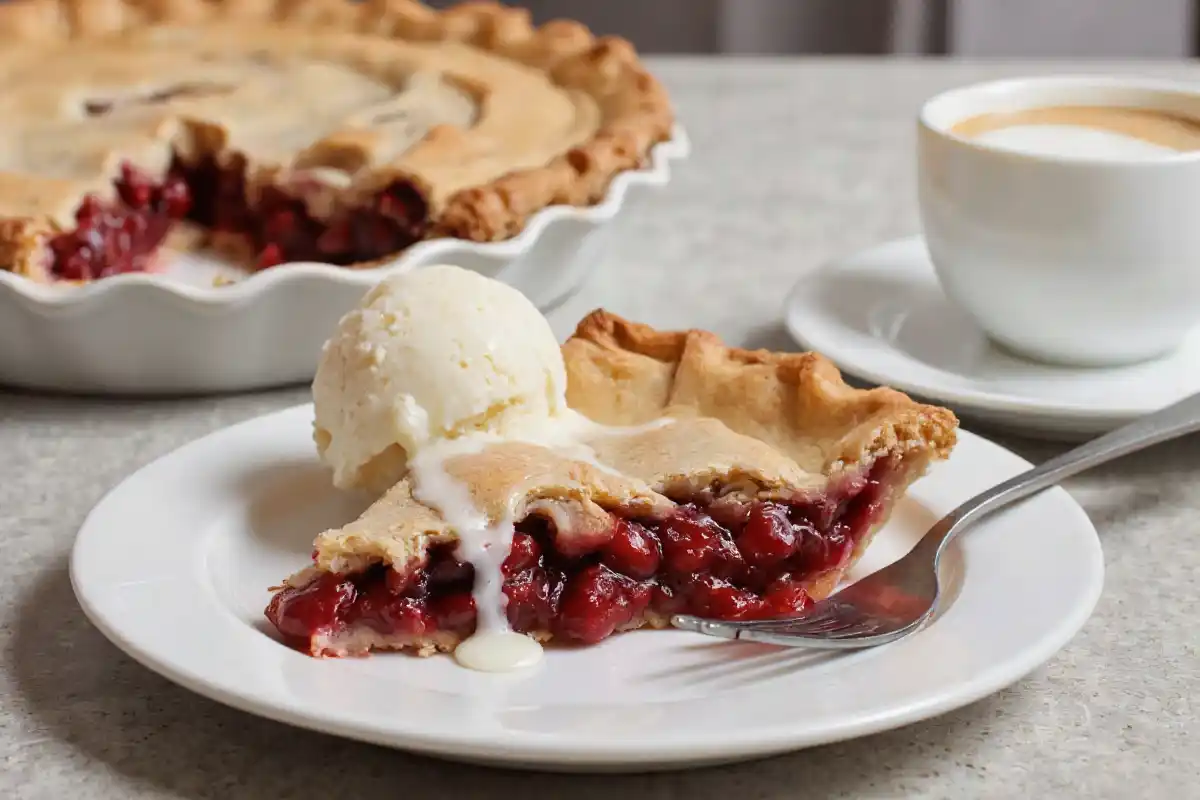
✔️ Vanilla ice cream – The warm pie with cold ice cream is perfect!
✔️ Whipped cream – Light and airy, not overpowering.
✔️ Fresh cherries & mint – A simple garnish for a fancy touch.
✔️ Coffee or tea – Enhances the richness of the pie.
🎉 Final Thoughts: Time to Bake Your Cherry Pie!
This Homemade Cherry Pie Recipe is flaky, juicy, and perfectly sweet—an absolute must-try! Whether you serve it warm with vanilla ice cream or cold with whipped cream, it’s a dessert that never disappoints.
👉 Have you tried this recipe? Leave a comment below!
Try Next: If you’re a fan of easy yet flavorful recipes, don’t miss ourhomemade pancake mixDetox Salad which pairs perfectly with this olive oil dip for an unforgettable dining experience!
Print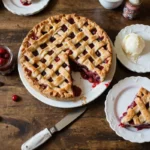
Homemade Cherry Pie
- Total Time: 1 hour 20 minutes
- Yield: 8 slices 1x
- Diet: Low Calorie
Description
This homemade cherry pie features a buttery, flaky crust and a thick, juicy cherry filling. A classic dessert that’s perfect for any occasion!
Ingredients
🍒 For the Cherry Pie Filling:
- 4 cups fresh or frozen cherries, pitted
- ¾ cup granulated sugar
- 3 tbsp cornstarch
- 1 tbsp lemon juice
- 1 tsp vanilla extract
- 1 tbsp unsalted butter
🥧 For the Pie Crust:
- 2 ½ cups all-purpose flour
- 1 cup unsalted butter (cold, cubed)
- 6 tbsp ice water
- 1 tbsp sugar
- ½ tsp salt
📝 Tip: Enable the shopping list checkbox so users can check off ingredients while shopping!
Instructions
1️⃣ Prepare the Cherry Filling
In a saucepan, combine cherries, sugar, cornstarch, and lemon juice.
Cook over medium heat, stirring frequently, until the mixture thickens.
Remove from heat and stir in vanilla extract and butter. Let the filling cool completely before using.
2️⃣ Make the Crust
In a bowl, mix flour, sugar, and salt.
Cut in cold butter using a pastry cutter (or your hands) until the mixture resembles pea-sized crumbs.
Slowly add ice water, a little at a time, mixing just until the dough holds together.
3️⃣ Roll Out the Dough
Take one disc of pie dough and roll it out to fit a 9-inch pie pan.
Carefully place the dough into the pan and press it down gently.
Pour in the cooled cherry filling, spreading it evenly.
4️⃣ Assemble the Pie
Roll out the second dough disc and place it on top.
For a classic crust, seal and crimp the edges.
For a lattice crust, cut strips and weave them over the filling.
Brush the top with an egg wash for a golden, glossy finish.
5️⃣ Bake the Pie
Preheat the oven to 375°F (190°C).
Bake for 45–50 minutes or until the crust turns golden brown.
If the edges brown too quickly, cover them with foil halfway through baking.
6️⃣ Cool & Serve
Let the pie cool completely before slicing—this helps the filling set properly.
Serve as-is or top with vanilla ice cream for an extra treat! 🍒🥧
Notes
✅ Make-Ahead Tip: Prepare the filling and crust separately and store them in the fridge for up to 2 days before assembling.
✅ Storage: Store leftover pie in an airtight container in the fridge for up to 4 days or freeze for up to 3 months.
✅ Serving Suggestion: Serve warm with a scoop of vanilla ice cream or a dollop of whipped cream!
✅ Lattice Crust Option: For a beautiful pie presentation, create a lattice top with thin strips of dough.
- Prep Time: 30 minutes
- Cook Time: 50 minutes
- Category: Dessert
- Method: Baking
- Cuisine: American
Nutrition
- Serving Size: 1 slice (⅛ of a 9-inch pie)
- Calories: 320kcal
- Sugar: 22g
- Sodium: 210mg
- Fat: 14g
- Saturated Fat: 4g
- Unsaturated Fat: 4g
- Trans Fat: 0g
- Carbohydrates: 45g
- Fiber: 3g
- Protein: 3g
- Cholesterol: 40mg