

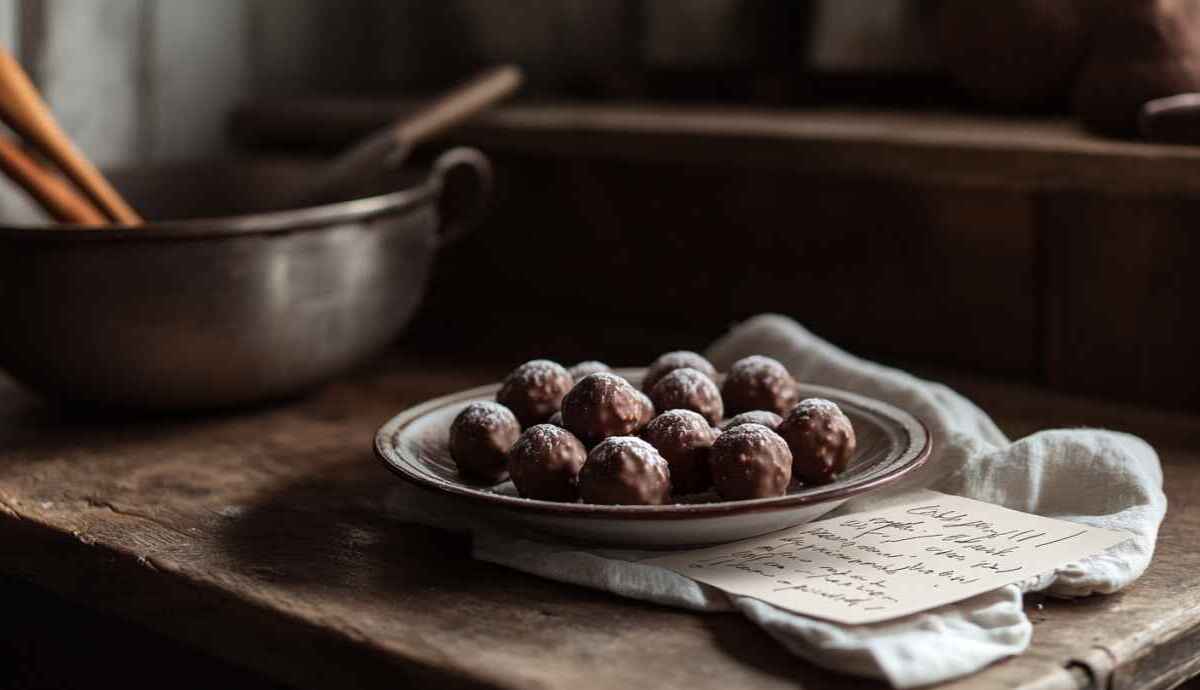
If you’re craving a bite of nostalgia, this butterfinger balls recipe is straight from Grandma’s sweet tooth playbook. Think creamy peanut butter, crushed Butterfinger bars, and a tender hint of vanilla all rolled up into rich, chocolate-coated bites that melt in your mouth and take you back to simpler times.
When I was little, my Grandma used to sneak these into our lunchboxes or set them on the table after Sunday supper. The best part? No baking, no fuss just a bowl, a spoon, and a whole lot of love.
Table of Contents
Why You’ll Love This Butterfinger Balls Recipe
This recipe is everything you want in a homemade treat easy, old-fashioned, and absolutely delicious. It uses a few pantry staples, but the result is anything but basic.
- Creamy, crunchy, chocolatey: That dreamy combo of peanut butter, crushed candy, and smooth chocolate.
- No oven needed: A true no-bake dessert, perfect for hot days or quick cravings.
- Versatile and nostalgic: Inspired by Grandma’s old fashioned Butterfinger balls recipe, but easy to customize.
- Kid-friendly and holiday-ready: Ideal for cookie swaps, lunchboxes, bake sales, or freezer stashes.
Whether you’re here for a butterfinger balls recipe with cream cheese, or a no-fuss holiday hit, this one has a little something for everyone.
Ingredients for Butterfinger Balls Recipe

Making these no-bake treats is as easy as stirring, rolling, and dipping and the ingredients couldn’t be simpler. Just a few kitchen staples and a bag of Butterfinger candy, and you’re in business.
What You’ll Need (Ingredients)
- Peanut butter
- Softened butter
- Vanilla extract
- Powdered sugar
- Crushed Butterfinger candy bars
- Cream cheese (optional, for added richness)
- Graham cracker crumbs or Rice Krispies (optional, for texture)
- Chocolate chips or melting wafers (for dipping)
Why These Ingredients Matter
Peanut butter is the heart of the filling it adds richness and that classic nutty flavor. Butter makes the mixture smoother and more scoopable, while vanilla brings warmth. The crushed Butterfinger bars add that signature crunch and caramelized sweetness. A bit of cream cheese makes them even more decadent, while graham crackers or Rice Krispies give body and a nostalgic crunch. And of course, no Butterfinger ball is complete without its chocolate shell.
Instructions for Making Butterfinger Balls Recipe
This no-bake treat comes together in minutes and is perfect for little hands to help with—Grandma always let me roll the balls while she melted the chocolate. The key is to chill the mixture before shaping, and don’t skimp on the chocolate drizzle!
Step-by-Step Directions
Step 1: Cream the Base

In a large bowl, mix the peanut butter, softened butter, cream cheese (if using), and vanilla extract until smooth and fluffy.
Step 2: Sweeten and Thicken
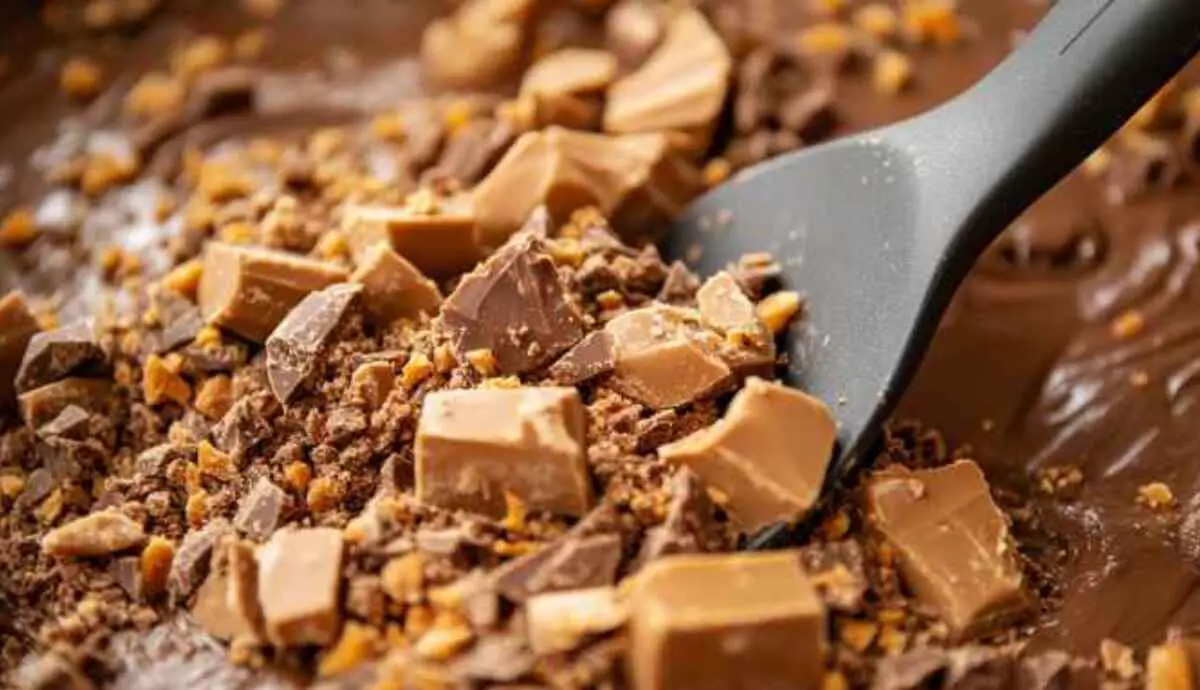
Gradually add the powdered sugar, stirring until a thick dough forms. Fold in the crushed Butterfinger bars and graham cracker crumbs or Rice Krispies (if using).
Hint: If the mixture feels too soft to roll, pop it in the fridge for 20–30 minutes to firm up.
Step 3: Shape the Balls
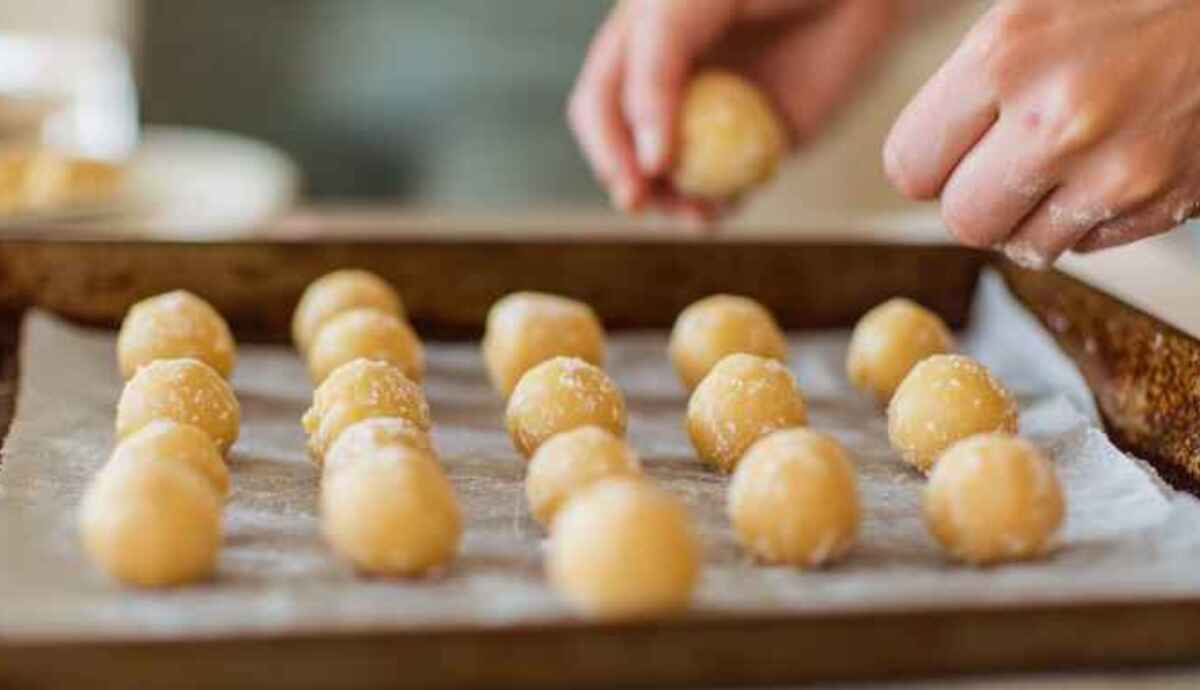
Using a small scoop or spoon, roll the dough into 1-inch balls and place them on a parchment-lined baking sheet.
Step 4: Chill to Set
Refrigerate the rolled balls for about 30 minutes. This helps them hold their shape and makes dipping easier.
Step 5: Dip in Chocolate
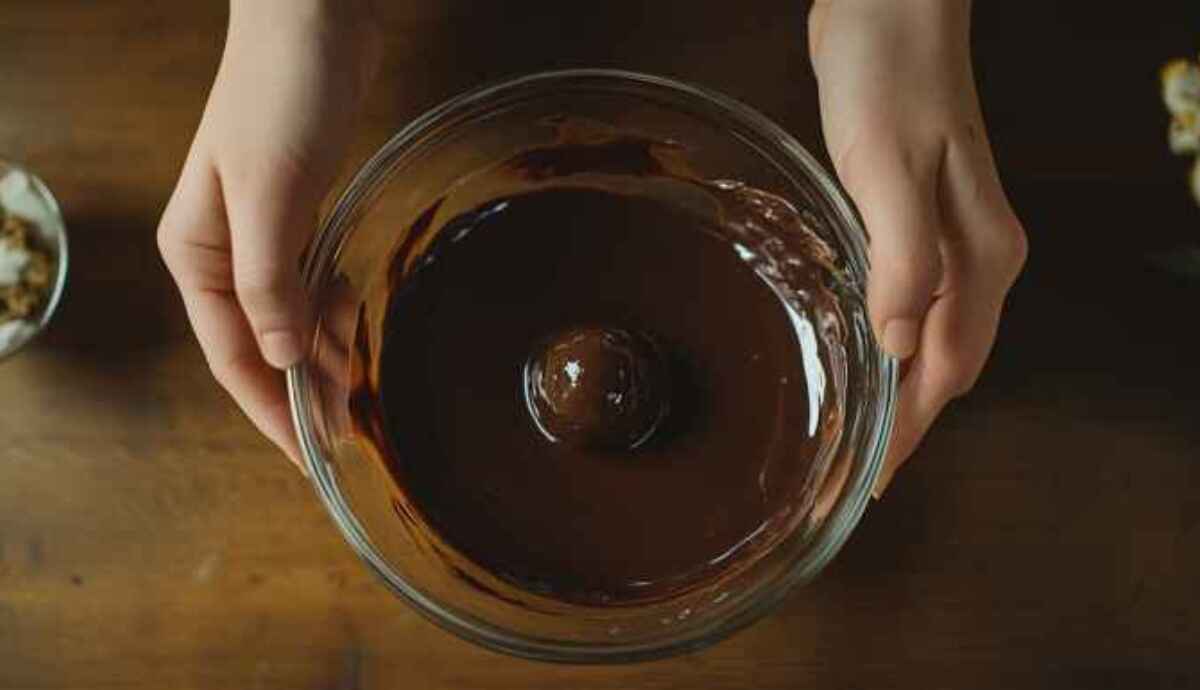
Melt the chocolate chips or melting wafers in a microwave-safe bowl or double boiler. Using a fork, dip each ball into the chocolate, let the excess drip off, and return to the baking sheet.
Step 6: Optional Toppings
While the chocolate is still wet, sprinkle with crushed Butterfinger crumbs, sea salt, or even a pinch of cinnamon sugar.
Step 7: Final Chill
Refrigerate until the chocolate is completely set about 15–20 minutes.
Cooking Tips
These aren’t just any candy balls this Butterfinger balls recipe has stood the test of time, and a few small touches make all the difference between “good” and “can’t stop eating them.”
- Chill before you roll. If your mixture feels too soft or sticky, chill it for 30 minutes. Grandma used to say, “Let the flavors rest before they’re dressed!”
- Use parchment paper. It makes cleanup easy and keeps the balls from sticking after dipping.
- Melt chocolate low and slow. Whether you use a microwave or double boiler, don’t rush it burnt chocolate is bitter and hard to work with.
- Add a crunch factor. Graham cracker crumbs or Rice Krispies give the texture a lovely, old-fashioned feel that’s satisfying with every bite.
- Make them in advance. These freeze beautifully just defrost in the fridge overnight and enjoy!
Personal Anecdote
I still remember the first time I made these Butterfinger balls with Grandma. It was a chilly November afternoon, and the kitchen smelled like peanut butter and melted chocolate pure magic to a kid like me.
I was in charge of rolling the dough, but I kept “accidentally” making them too big so I could sneak a taste. Grandma noticed, of course, and with a soft chuckle said, “Bigger isn’t always better, sweetheart unless we’re talkin’ about hugs or pie slices.”
We laughed until our sides hurt, and even though I was covered in chocolate, that moment stuck with me more than the recipe itself. Every time I make these, I think of her flour-dusted apron, her wooden spoon, and the way she made the kitchen feel like the safest, sweetest place in the world.
Storage Tips for Butterfinger Balls Recipe
These little bites of joy are just as good on day three as they are on day one if they last that long! Here’s how to store them for snacking now or savoring later.
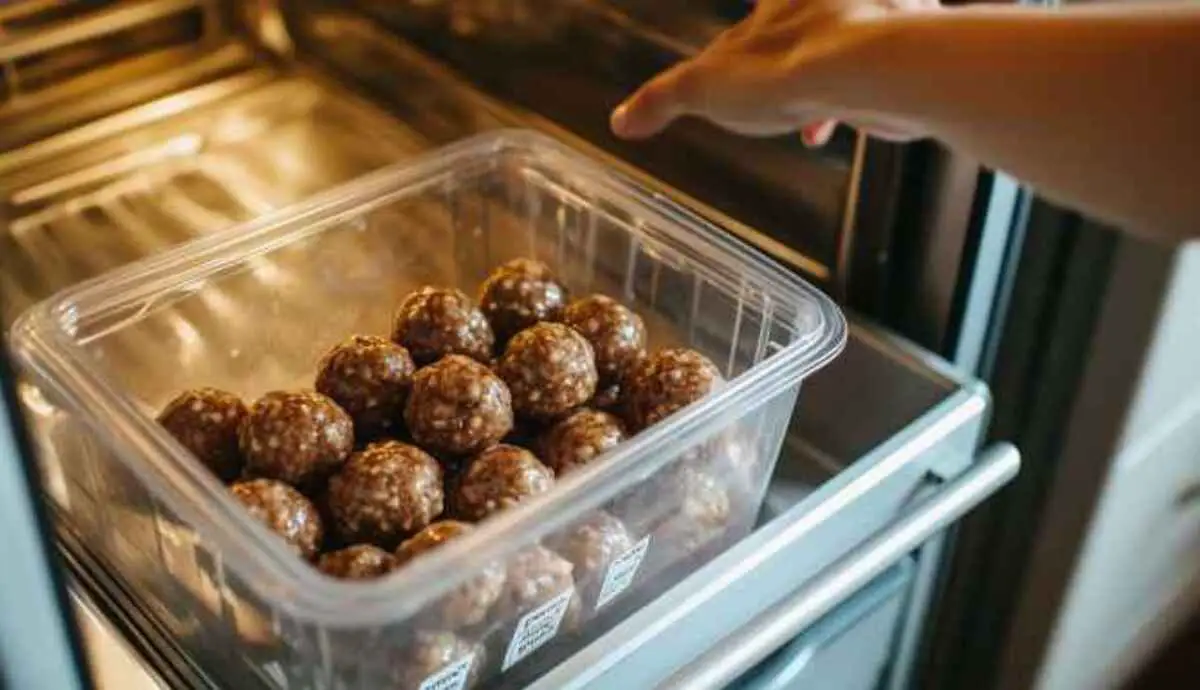
- Refrigerator: Store your butterfinger balls in an airtight container lined with parchment paper. They’ll stay fresh for up to 7 days in the fridge. I like to keep mine in a glass container with a tight lid, just like Grandma used to reuse from the holidays.
- Freezer: For longer storage, freeze them on a tray first until solid, then transfer to a freezer bag or container. They’ll keep for up to 3 months. Just let them thaw in the fridge before serving.
- Lunchbox Ready: Wrap a few in parchment or wax paper and tuck them into a lunchbox with an ice pack. By snack time, they’ll be the perfect temperature.
Grandma’s Tip: Label the container and date it. “That way,” she’d say, “you’ll know which batch you’re sneakin’ from.”
Grandma Mary’s Secret for Butterfinger Balls
You know how every great recipe has that one little thing that makes it unforgettable? Well, Grandma Mary’s secret for this butterfinger balls recipe wasn’t in the ingredients—it was in the finish.
Right after dipping the balls in melted chocolate, she’d press a single crumb of crushed Butterfinger right on top. Not a sprinkle just one piece. “So you know what’s inside before you take the first bite,” she’d say, tapping each one like a final blessing.
It sounds simple, but it’s that tender, thoughtful touch that made her recipes feel like a warm hug. And to this day, when I top each Butterfinger ball just like she did, I swear I hear her humming in the kitchen.
Grandma Mary’s Secret for Butterfinger Ball
You know how every great recipe has that one little thing that makes it unforgettable? Well, Grandma Mary’s secret for this butterfinger ball recipe wasn’t in the ingredients it was in the finish.
Right after dipping the balls in melted chocolate, she’d press a single crumb of crushed Butterfinger right on top. Not a sprinkle just one piece. “So you know what’s inside before you take the first bite,” she’d say, tapping each one like a final blessing.
It sounds simple, but it’s that tender, thoughtful touch that made her recipes feel like a warm hug. And to this day, when I top each Butterfinger ball just like she did, I swear I hear her humming in the kitchen.
Conclusion
Whether you’re making a batch for the holidays, sneaking one with your afternoon coffee, or passing the tradition to your little ones, this butterfinger ball recipe is more than just a sweet treat it’s a memory in the making.
With every roll, dip, and drizzle, I’m reminded of Grandma Mary’s apron strings, her warm laugh, and the way she made magic from the simplest ingredients. I hope this recipe finds a place at your table, just like it did at ours.
If you found yourself enchanted by the buttery, chocolatey charm of these Butterfinger Balls, there’s a whole world of comforting desserts waiting for you. For a creamy, bite-sized no-bake twist, try the No Bake Peanut Butter Cheesecake Balls, or lean into easy indulgence with this gooey Peanut Butter Cup Dump Cake. Fans of Southern nostalgia will love the Pineapple Strawberry Pound Cake a perfect balance of tart and sweet. If you’re up for a unique treat, the Cinnamon Sugar Cream Muffins deliver pillowy goodness in every bite. And for the cookie lovers, the beloved Mama Kelce Cookie Recipe offers a crowd-pleasing crunch with a warm, homemade vibe.
From my kitchen to yours,
Chef Tima (and Grandma in spirit)

Butterfinger Balls Recipe
- Total Time: 30 minutes
- Yield: About 24 balls 1x
- Diet: Low Fat
Description
This old-fashioned Butterfinger balls recipe brings together creamy peanut butter, rich chocolate, and the caramelized crunch of Butterfinger candy bars. No baking required just chill, roll, and dip. A nostalgic, sweet treat straight from Grandma’s kitchen, perfect for holidays, gifting, or freezer snacks.
Ingredients
- 1 ½ cups peanut butter
- ½ cup butter, softened
- 4 oz cream cheese (optional, for extra creaminess)
- ½ teaspoon vanilla extract
- 2 cups powdered sugar
- 1 cup crushed Butterfinger candy bars
- ½ cup graham cracker crumbs or Rice Krispies (optional, for texture)
- 2 cups chocolate chips or melting wafers (for coating)
Instructions
- In a large bowl, mix peanut butter, softened butter, cream cheese (if using), and vanilla until smooth.
- Add powdered sugar and mix until fully combined.
- Stir in crushed Butterfinger bars and optional graham cracker crumbs or Rice Krispies.
- Chill the mixture in the fridge for 20–30 minutes until firm.
- Scoop and roll into 1-inch balls. Place on a parchment-lined tray.
- Melt chocolate chips or melting wafers in a microwave-safe bowl or double boiler.
- Dip each ball into melted chocolate and return to tray.
- Optional: Top each ball with a small piece of crushed Butterfinger.
- Chill again until chocolate is set—about 15–20 minutes. Serve or store.
Notes
You can freeze these for up to 3 months. Substitute peanut butter with almond or sunflower seed butter if needed. Graham crackers or Rice Krispies add nostalgic crunch. Want more richness? Use dark chocolate for dipping. Grandma’s tip: One little candy crumb on top tells you what’s inside.
- Prep Time: 30 minutes
- Cook Time: 0 minutes
- Category: Dessert
- Method: No Bake
- Cuisine: American
Nutrition
- Serving Size: 1 ball
- Calories: 165
- Sugar: 12g
- Sodium: 85mg
- Fat: 10g
- Saturated Fat: 4g
- Unsaturated Fat: 5g
- Trans Fat: 0g
- Carbohydrates: 15g
- Fiber: 1g
- Protein: 3g
- Cholesterol: 7mg